Breading chicken can seem simple, but it’s easy to mess up. Whether you’re new to cooking or just trying to perfect your technique, avoiding common pitfalls can make a big difference. We’ve all had breading slide off or turn soggy, but a few tweaks can turn your chicken into a crispy, flavorful delight. By steering clear of these frequent mistakes, you’ll master the art of breading chicken in no time.
Contents
- 1 Not Seasoning the Chicken
- 2 Using the Wrong Breading Order
- 3 Not Beating the Eggs Enough
- 4 Thinking Only Eggs Can Hold Breadcrumbs
- 5 Not Making a “Glue” for Breadcrumbs
- 6 Overcrowding the Pan
- 7 Not Letting the Breaded Chicken Rest
- 8 Using Cold Chicken
- 9 Not Patting the Chicken Dry
- 10 Using the Wrong Oil Temperature
- 11 Not Shaking Off Excess Flour
- 12 Not Double-Breading for Extra Crispiness
- 13 Skipping the Brine
- 14 Frying All Pieces Together
- 15 More From RetailShout
- 16 15 Trader Joe’s Recipes for a Mouthwatering Feast on a Budget
- 17 13 Top Grilling Tips for the Perfect Summer Cookout
Not Seasoning the Chicken
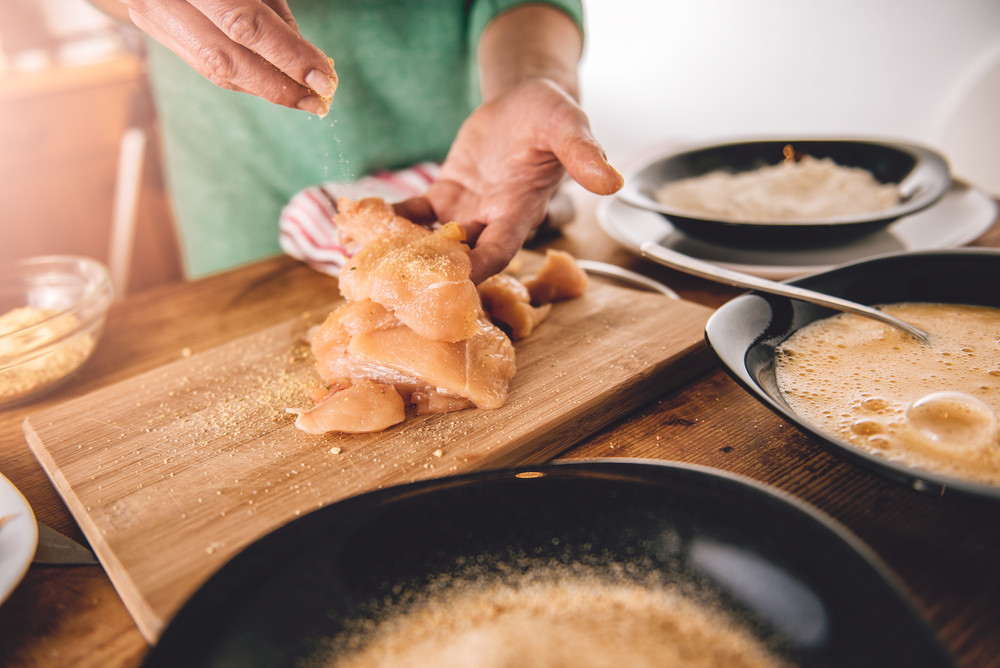
Seasoning is crucial for flavor. Many skip this step, leading to bland chicken even if the breading is flavorful. It’s important to season the chicken itself before breading to ensure the taste permeates the meat. Simply sprinkling salt and pepper on the chicken can make a significant difference. Additionally, using spices or herbs directly on the chicken enhances the overall flavor. Without this, the breading might taste good, but the chicken will remain tasteless.
Using the Wrong Breading Order
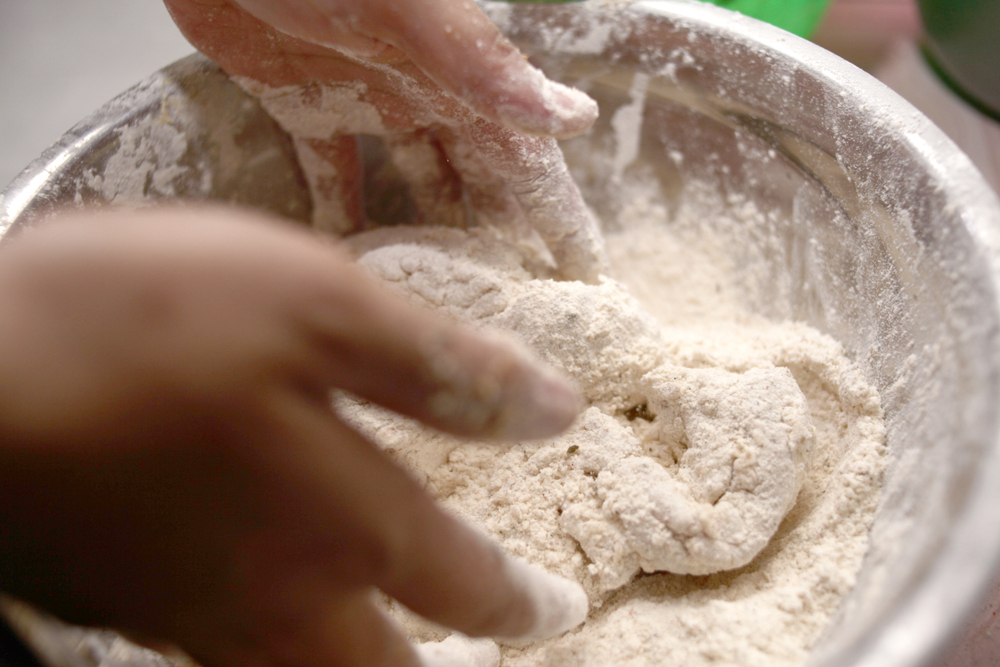
The proper order for breading chicken is flour, egg wash, then breadcrumbs. Skipping or rearranging these steps can cause the breading to slide off during cooking. Flour helps the egg wash adhere to the chicken, and the egg wash acts as a glue for the breadcrumbs. If the chicken is not first dredged in flour, the egg wash will not stick properly. Similarly, without the egg wash, the breadcrumbs will not adhere well to the chicken, leading to uneven breading.
Not Beating the Eggs Enough
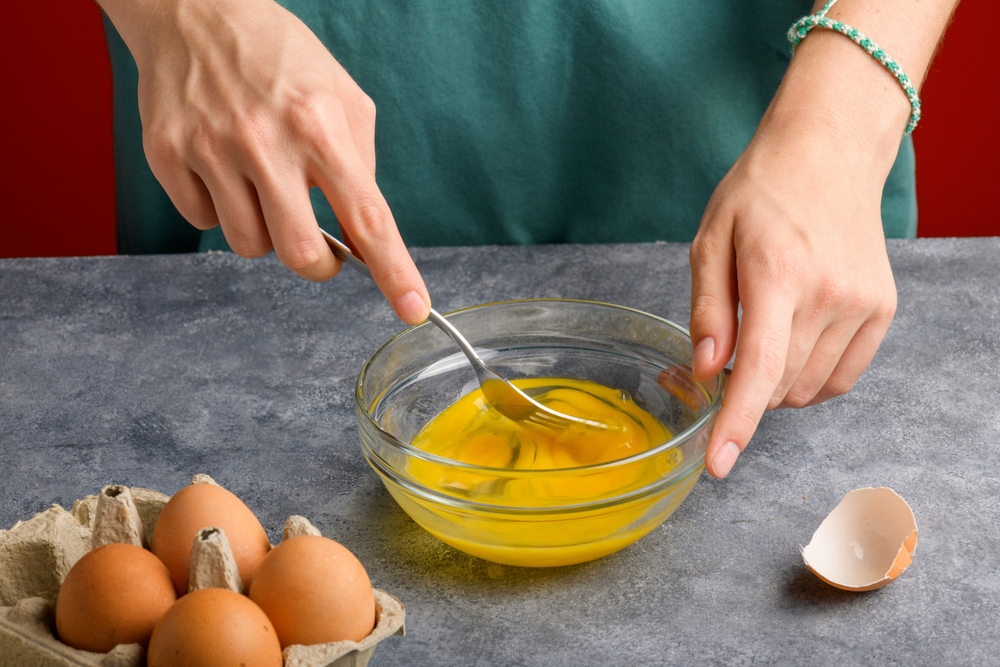
When preparing the egg wash, it’s important to beat the eggs thoroughly. Poorly beaten eggs result in uneven coating and clumping. A well-beaten egg wash provides a smooth, consistent layer that helps the breadcrumbs stick evenly. If the egg wash is too thick or clumpy, the breading can end up patchy. This step ensures the final breading is uniform and well-adhered.
Thinking Only Eggs Can Hold Breadcrumbs
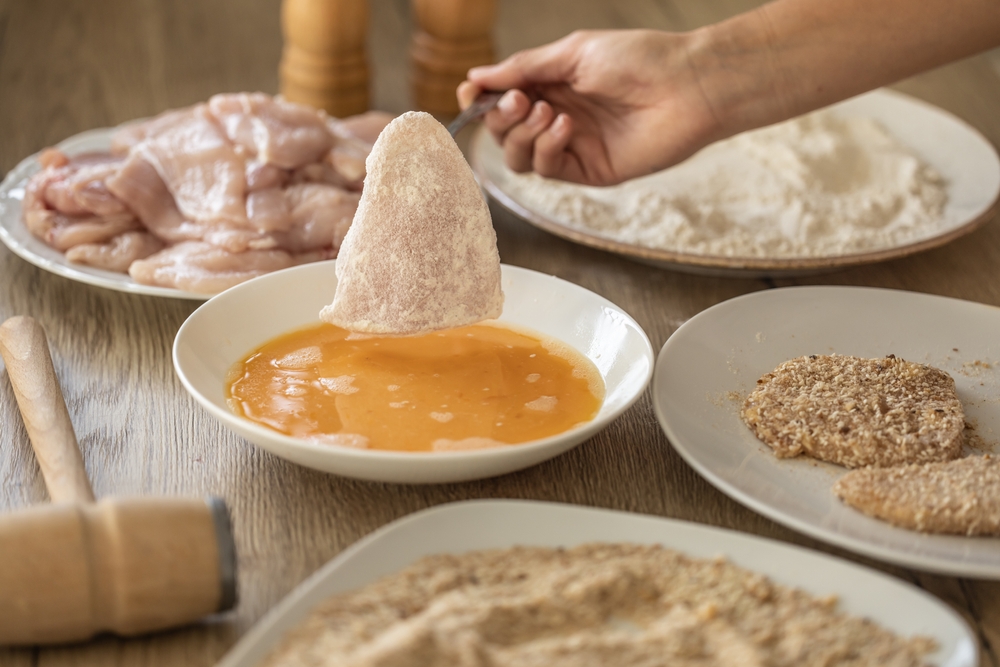
While eggs are a common binding agent, they are not the only option. Yogurt, buttermilk, or even mayonnaise can be used to coat the chicken before applying breadcrumbs. These alternatives can provide different flavors and textures. For instance, buttermilk adds a slight tang and tenderizes the chicken. Using various binders can also cater to dietary preferences or restrictions, providing flexibility in recipes.
Not Making a “Glue” for Breadcrumbs
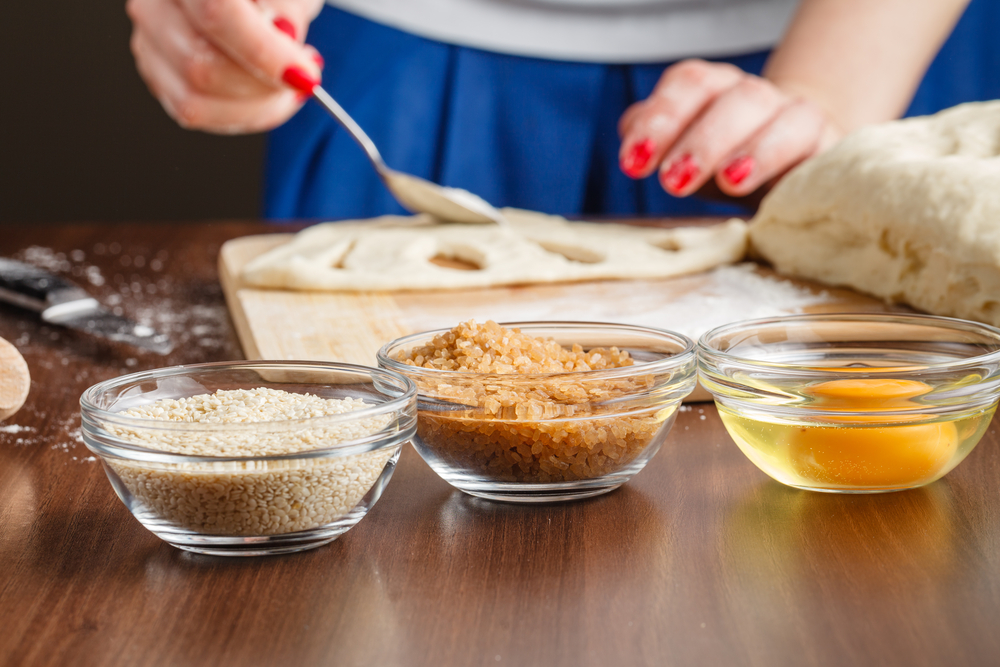
Creating a “glue” by mixing flour or cornstarch with the egg wash helps the breadcrumbs stick better. This step is often overlooked but ensures a more secure and even coating. The mixture creates a sticky surface that grabs the breadcrumbs effectively. Without it, the breading might fall off during frying. This simple addition can greatly improve the adherence and texture of the breading.
Overcrowding the Pan
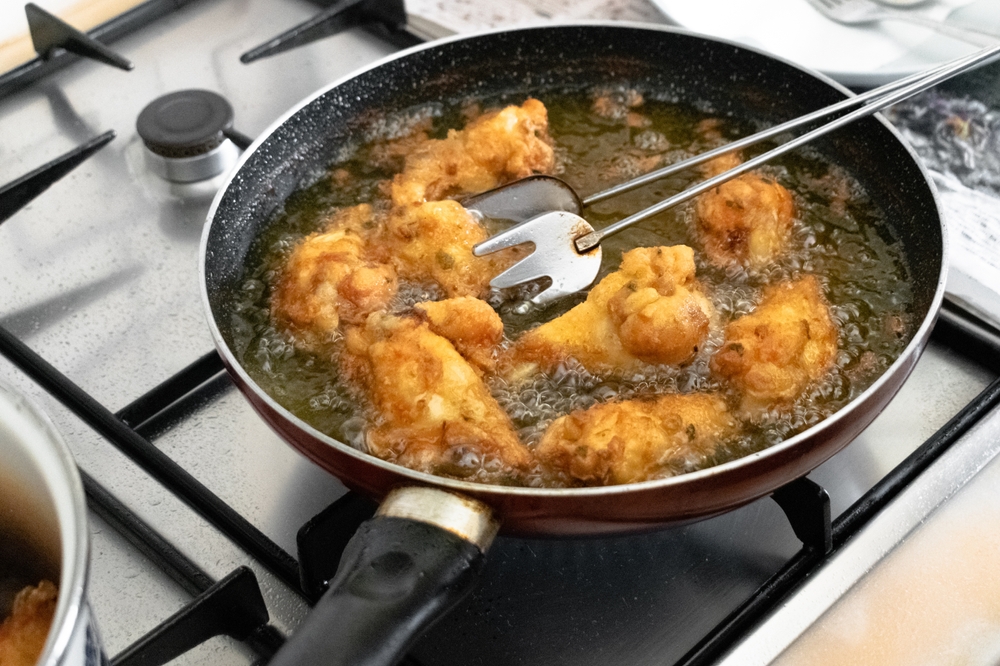
Placing too many pieces of chicken in the pan at once lowers the oil temperature. This leads to uneven cooking and soggy breading. It’s crucial to fry the chicken in batches, allowing enough space for each piece. Overcrowding prevents the chicken from cooking properly and achieving a crispy crust. Maintaining the right oil temperature ensures a golden, crunchy exterior and properly cooked chicken inside.
Not Letting the Breaded Chicken Rest
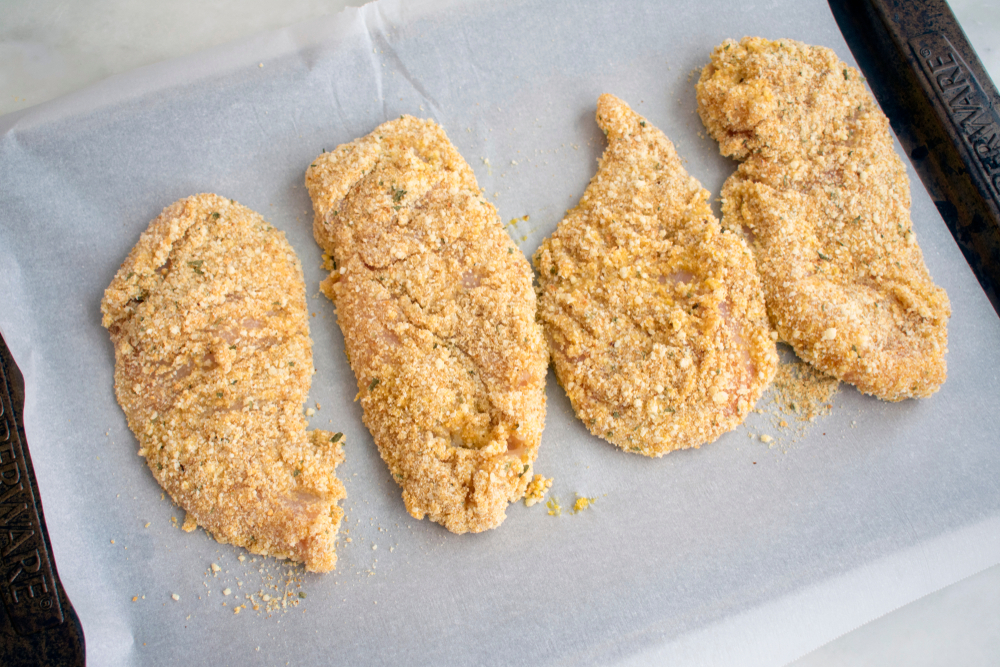
Allowing the breaded chicken to rest for about 15 minutes before frying helps the breading adhere better. This resting time helps the breading set and prevents it from falling off during cooking. Skipping this step can result in uneven breading that slides off in the hot oil. Resting the chicken also gives the coating time to bond, enhancing the final texture and flavor.
Using Cold Chicken
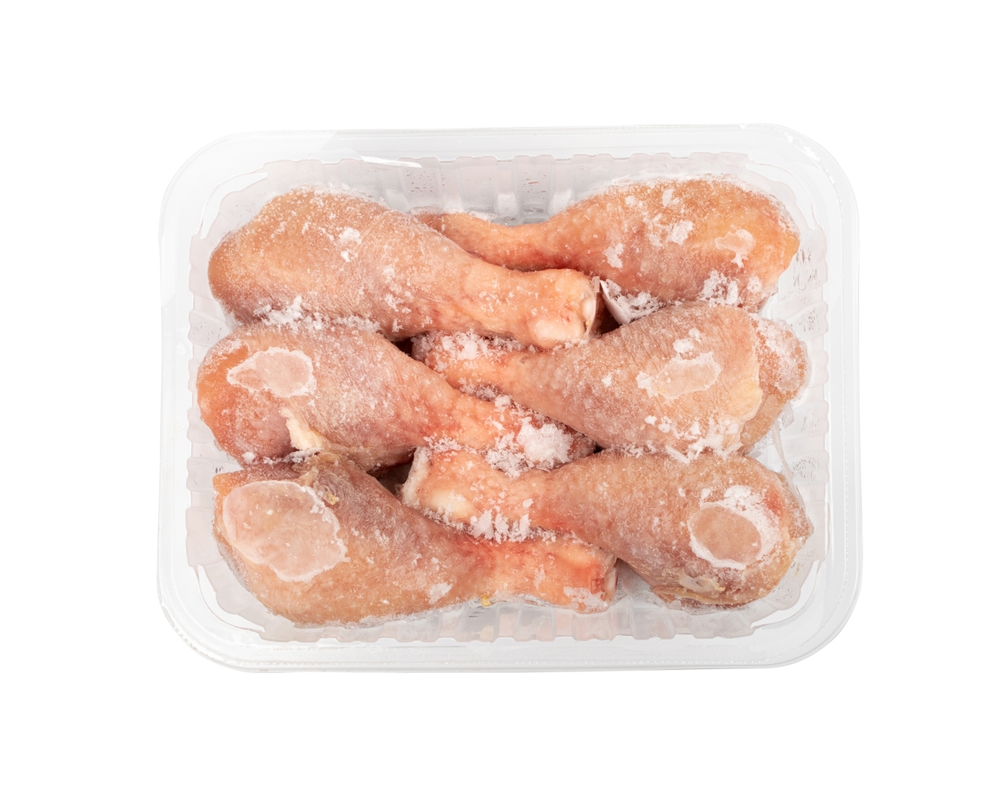
Starting with cold chicken can cause the breading to fall off. Bringing the chicken to room temperature before breading ensures even cooking and better adhesion. Cold chicken lowers the oil temperature, leading to greasy, undercooked breading. Allowing the chicken to sit at room temperature for about 30 minutes ensures a more consistent frying process. This simple step prevents many breading mishaps.
Not Patting the Chicken Dry
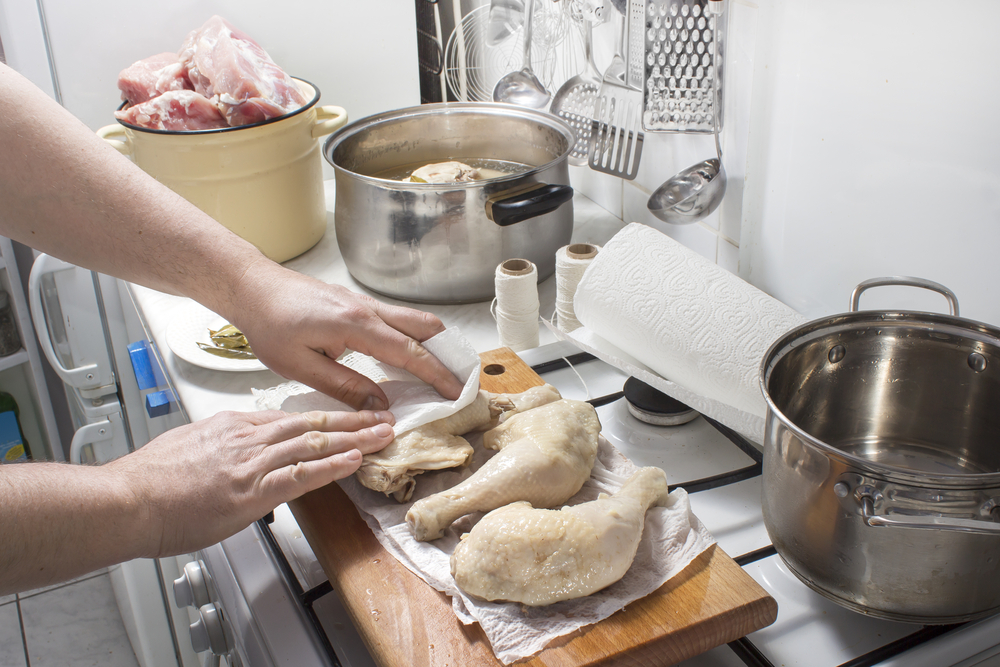
Excess moisture on the chicken prevents the breading from sticking properly. Patting the chicken dry with paper towels before breading removes excess moisture. Wet chicken results in clumpy breading that doesn’t adhere well. Ensuring the chicken is dry helps the flour and egg wash stick, creating a smooth, even coating. This step is essential for achieving a crispy, well-breaded chicken.
Using the Wrong Oil Temperature
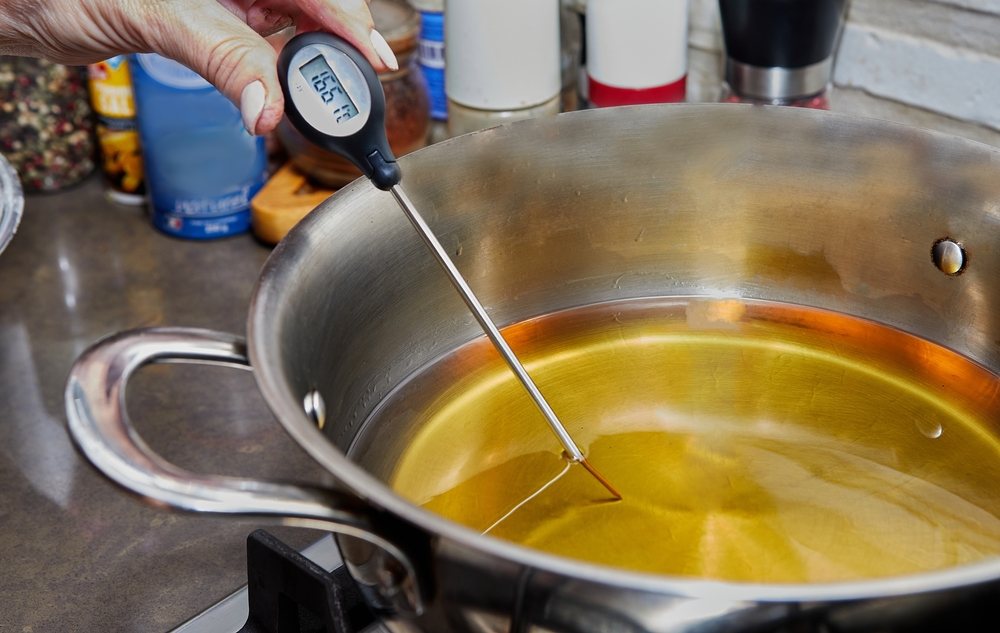
Frying at the wrong temperature can ruin the breading. Too hot, and the breading burns before the chicken cooks; too cool, and the breading absorbs excess oil. Maintaining an oil temperature between 350°F and 375°F is ideal. Using a thermometer helps ensure the correct temperature. This balance allows the breading to cook to a golden brown while the chicken cooks through without becoming greasy.
Not Shaking Off Excess Flour
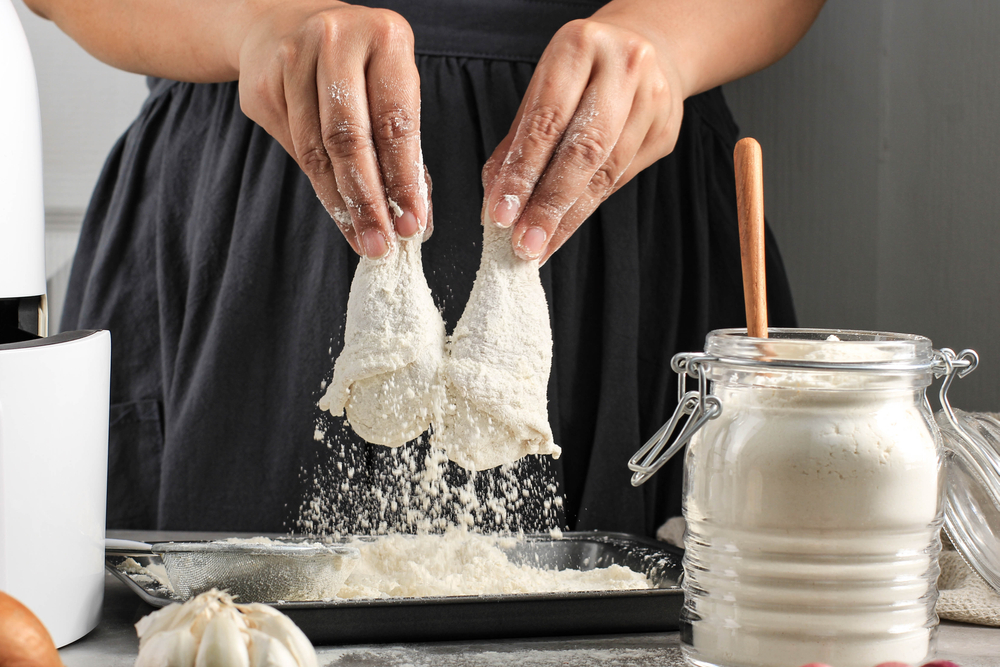
Leaving too much flour on the chicken before dipping in the egg wash can cause the breading to be uneven and fall off. It’s important to shake off excess flour after dredging. The excess flour can create clumps and prevent the egg wash from coating the chicken evenly. A light, even coating of flour ensures the breading adheres properly. This step is crucial for a smooth, even breading.
Not Double-Breading for Extra Crispiness
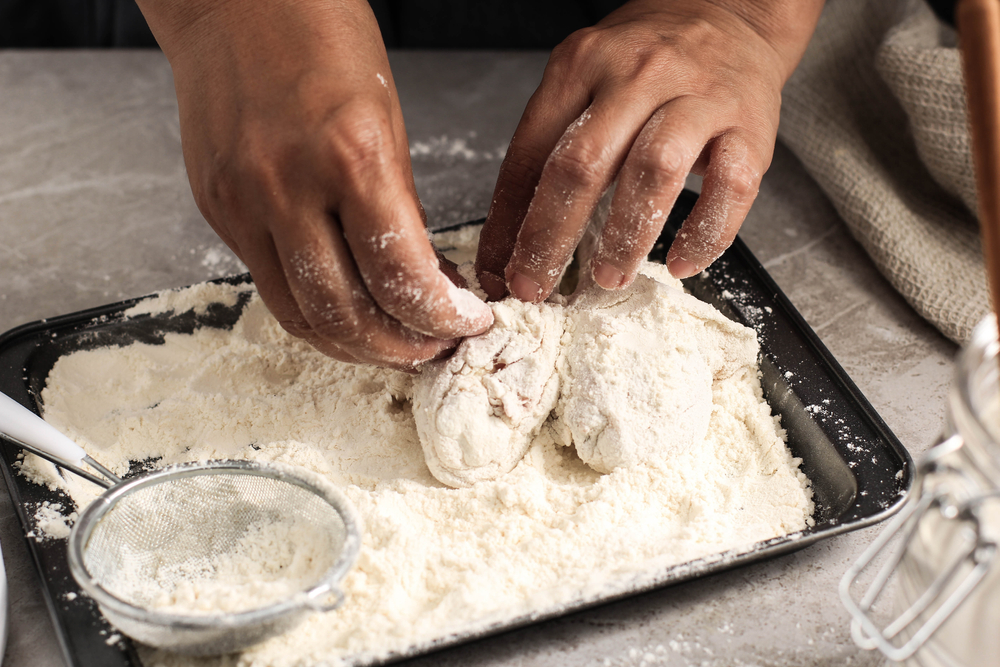
For an extra crispy coating, double-breading the chicken can make a big difference. This involves dipping the chicken in the egg wash and breadcrumbs twice. The double layer provides a thicker, crunchier crust. It’s important to allow the first layer to set slightly before adding the second. This technique ensures a robust, crunchy exterior that holds up well during frying.
Skipping the Brine
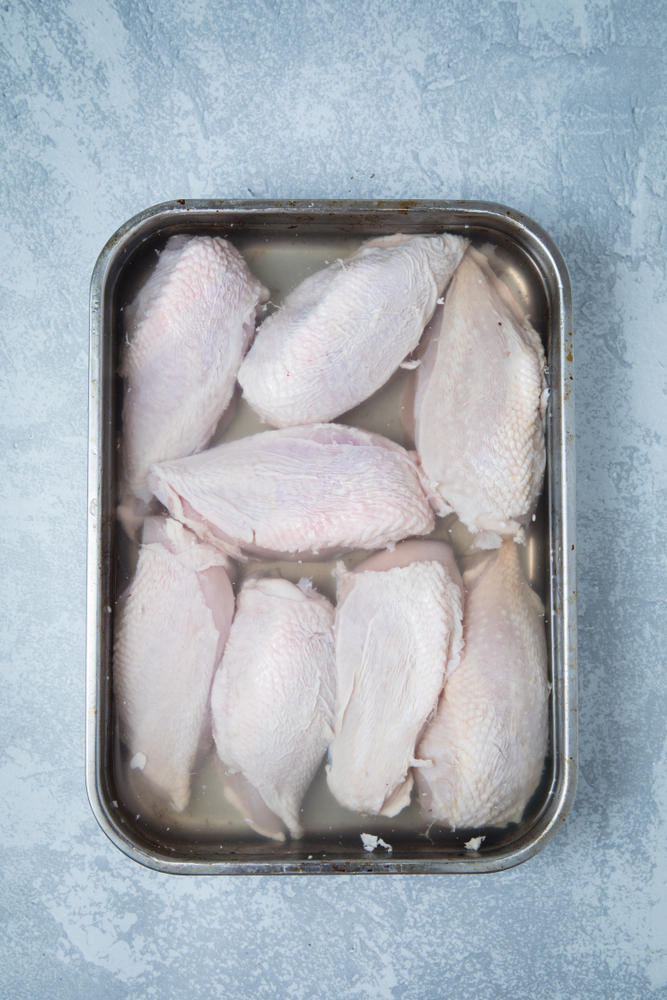
Brining the chicken before breading adds flavor and keeps the meat juicy. A simple brine of salt and water enhances the chicken’s moisture and tenderness. Skipping this step can result in dry, flavorless chicken. Brining for at least 30 minutes to an hour is recommended. The brine infuses the chicken with moisture and seasoning, improving the overall taste and texture.
Frying All Pieces Together
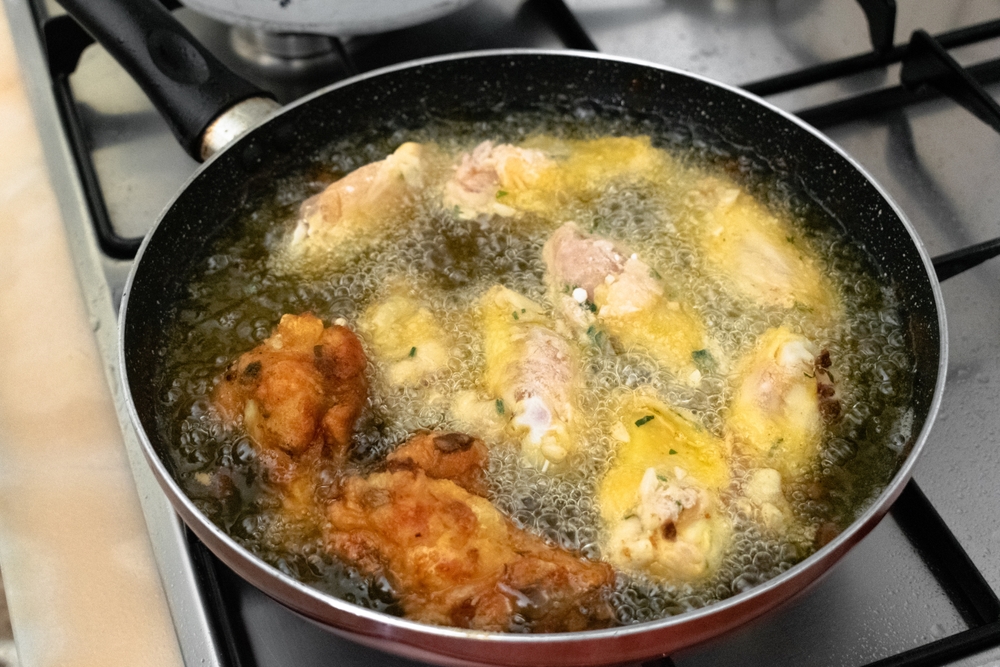
Different parts of the chicken cook at different rates. Frying all pieces together can lead to some being overcooked while others are undercooked. It’s better to fry similar-sized pieces together. Adjusting the frying time based on the size and thickness of the chicken ensures even cooking. This approach prevents the breading from burning while waiting for thicker pieces to cook through.
This article originally appeared on RetailShout
More From RetailShout
20 Chicken and Potato Recipes You`ll Come Back to Again and Again
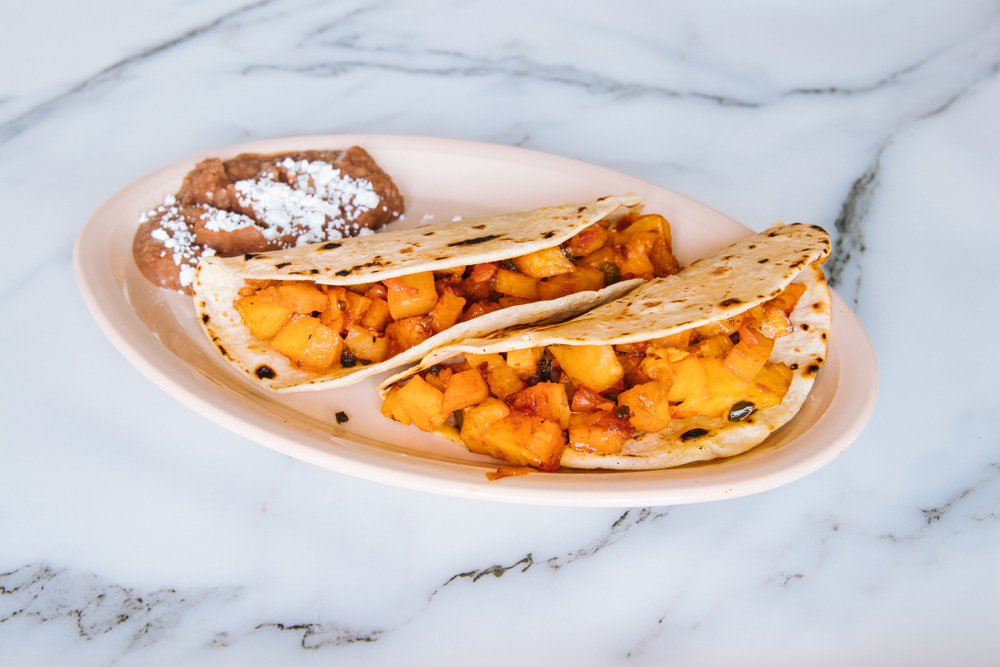
Cooking can be so much fun, especially when you find recipes that are both delicious and easy to make. Chicken and potatoes are a match made in heaven. They come together to create some of the most comforting and tasty dishes. Read More.
15 Trader Joe’s Recipes for a Mouthwatering Feast on a Budget
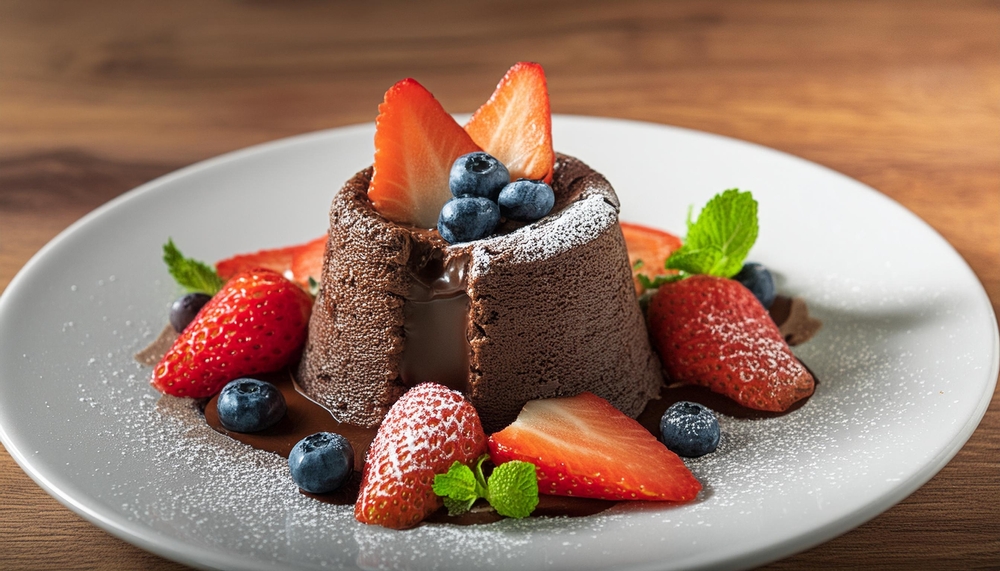
Creating a delicious and budget-friendly feast doesn’t have to be a challenge, especially when shopping at Trader Joe’s. With a variety of affordable and high-quality ingredients, you can whip up impressive dishes that will satisfy everyone at the table. Read More.
13 Top Grilling Tips for the Perfect Summer Cookout
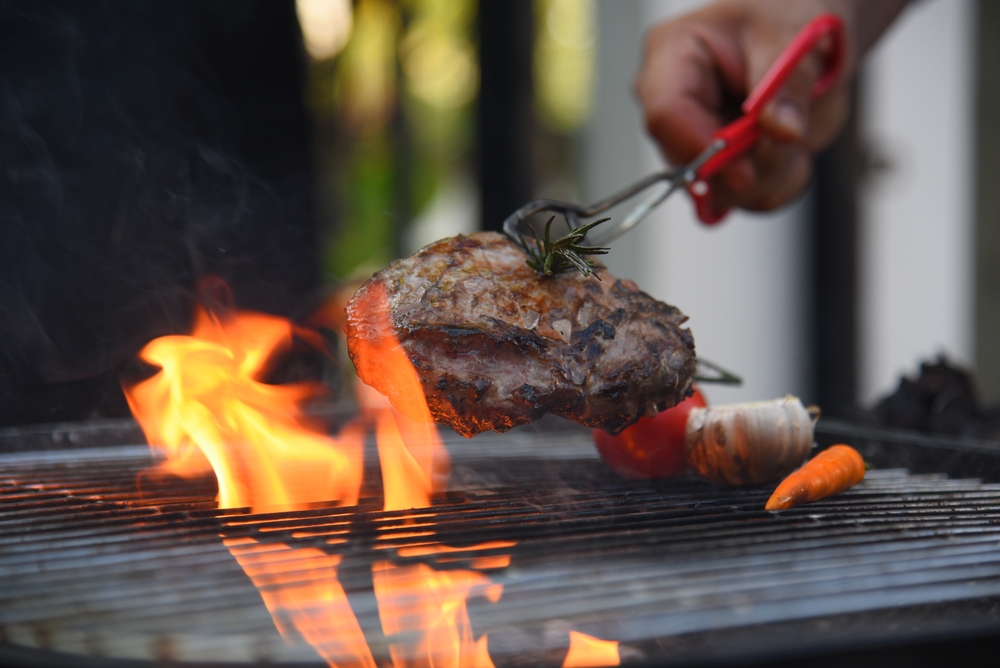
There is always something new to learn to make your cookout even better this summer. There are several grilling tips that can help you achieve the perfect char, flavor, and juiciness in every bite. Read More.


