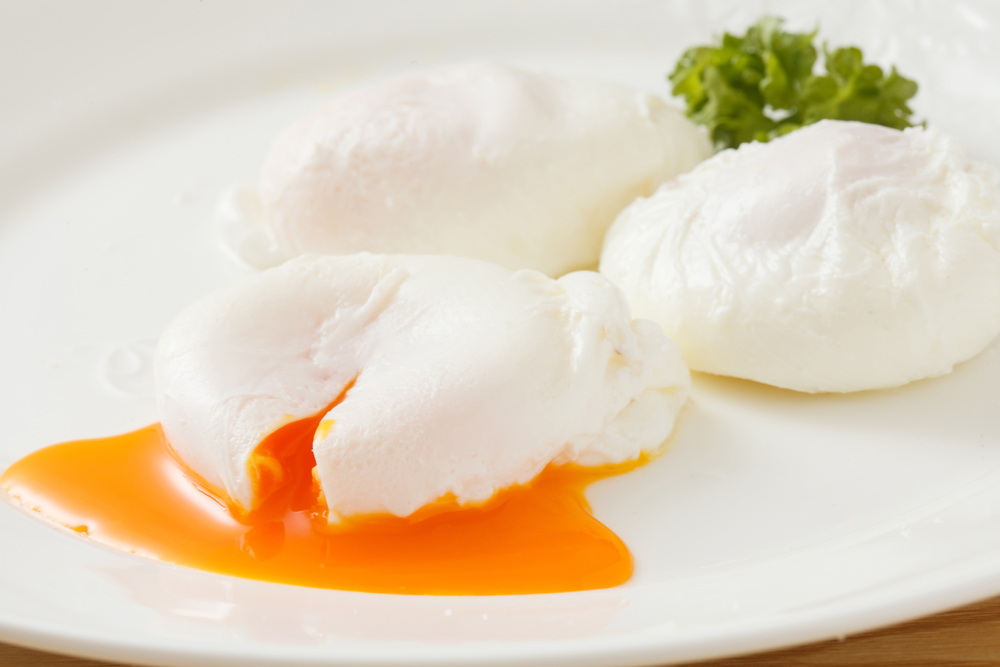
Poaching eggs can seem tricky, but with a few tips, anyone can master it. Getting that perfect poached egg with a runny yolk and firm whites takes some practice and know-how. Let’s dive into some common mistakes that might be messing up your poached eggs and how to fix them. These tips will help you poach like a pro in no time, so you can enjoy delicious, perfectly poached eggs every time.
Contents
- 1 Not Using Fresh Eggs
- 2 Using Boiling Water
- 3 Adding Too Much Vinegar to the Water
- 4 Not Seasoning the Water
- 5 Using a Shallow Pan
- 6 Cracking Eggs Directly into the Water
- 7 Not Swirling the Water
- 8 Poaching Too Many Eggs at Once
- 9 Not Timing the Eggs
- 10 Using Eggs Straight from the Refrigerator
- 11 Skipping the Ice Bath
- 12 Using Uneven Heat
- 13 Not Drying the Eggs
- 14 Ignoring Water Quality
- 15 Neglecting Practice
- 16 More From RetailShout
- 17 16 Hassle-Free Weeknight Meals to Make in Under an Hour
- 18 15 DIY Ice Cream Recipes to Beat the Heat
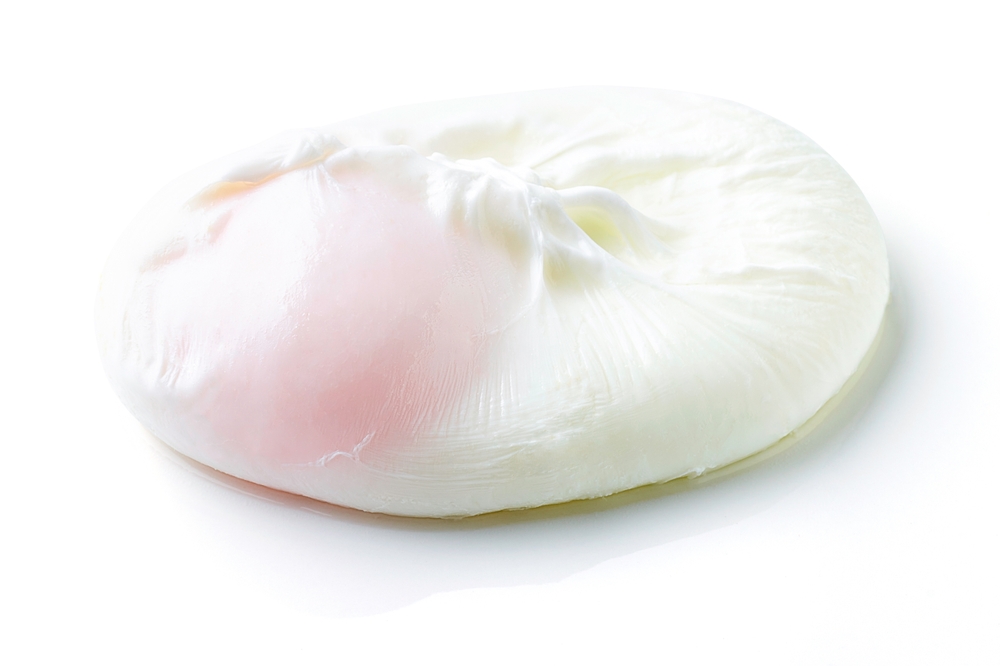
Not Using Fresh Eggs
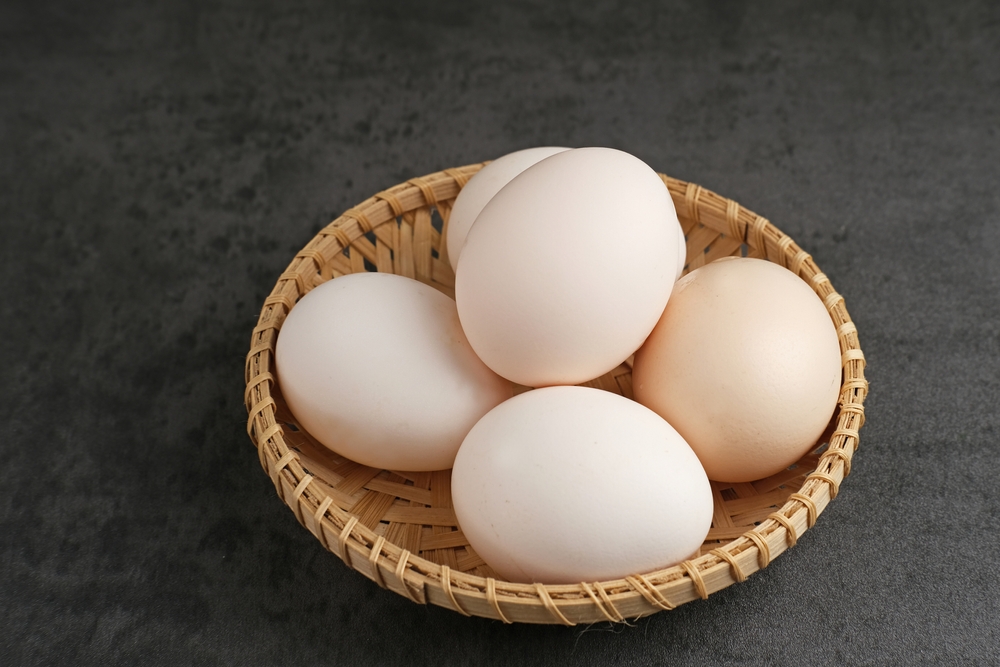
Fresh eggs have firmer whites, which helps them hold their shape better during poaching. Using older eggs can result in the whites spreading out and becoming wispy. The fresher the egg, the more cohesive the white will be, ensuring a neat, round poached egg. To test for freshness, place the egg in a bowl of water; fresh eggs will sink, while older ones will float. Using fresh eggs not only improves appearance but also enhances taste and texture. Always check the expiration date and source your eggs from a reliable supplier.
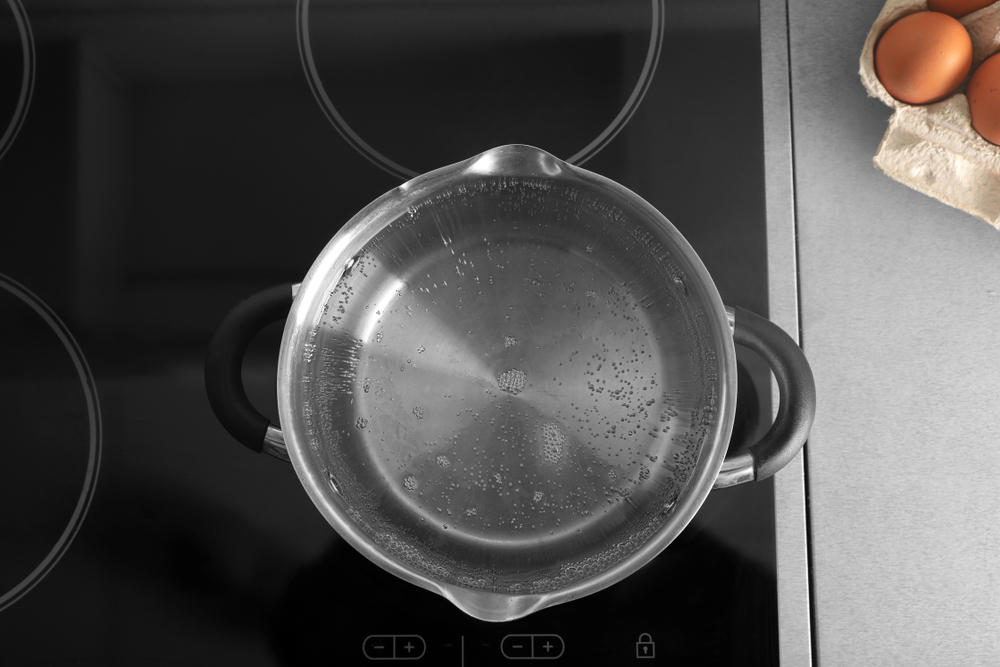
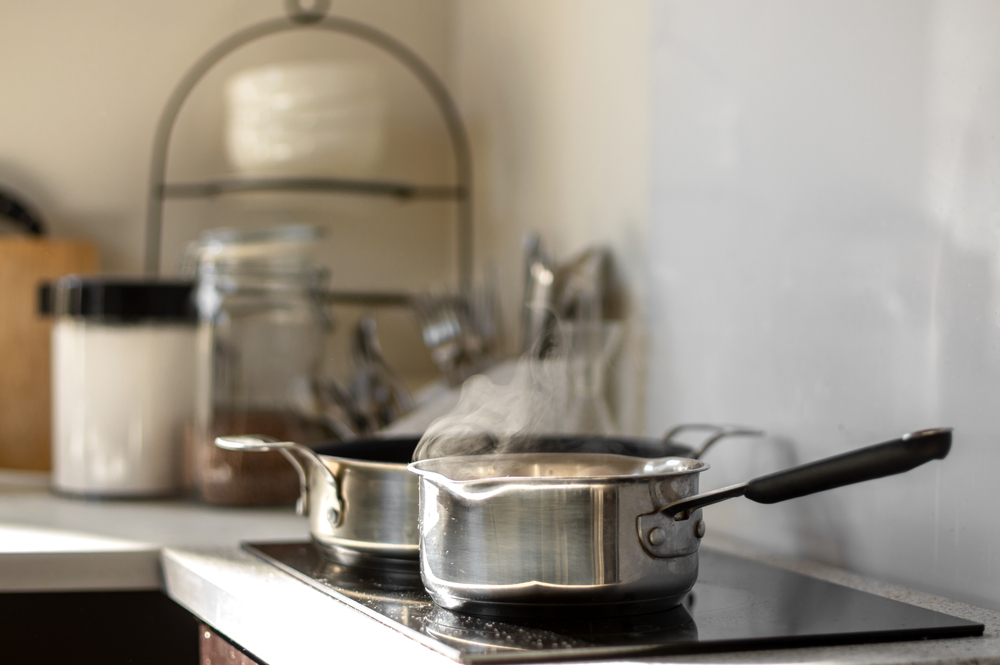
Using Boiling Water
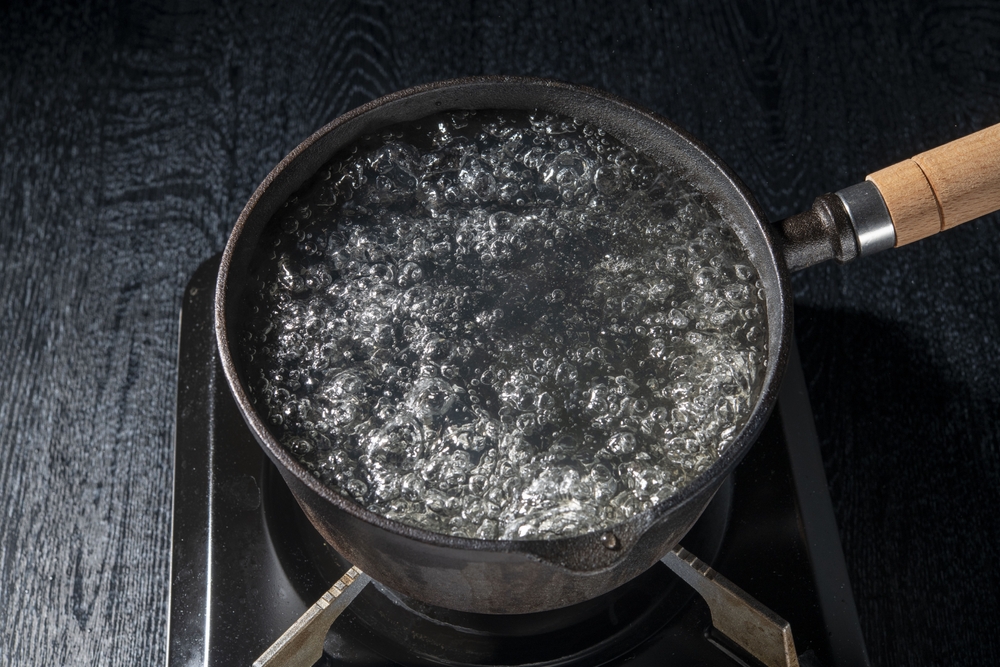
Boiling water is too aggressive for poaching eggs, causing the whites to break apart and creating a chaotic appearance. Instead, aim for a gentle simmer where small bubbles occasionally rise to the surface. This calmer environment allows the egg whites to slowly set around the yolk, forming a more uniform shape. The ideal water temperature is around 180°F to 190°F (82°C to 88°C). Use a thermometer to ensure consistency. Boiling water can also overcook the egg, making the yolk less creamy.
Adding Too Much Vinegar to the Water
While a small amount of vinegar can help coagulate the egg whites, too much can impart an unpleasant taste. Vinegar’s acidity accelerates the setting of the whites, but a tablespoon per quart of water is sufficient. Overdoing it can make your poached eggs taste sour. Experiment with different types of vinegar, such as white or apple cider, to see which complements your dish best. If you’re sensitive to the taste, consider reducing the amount or skipping it altogether. Balance is key to achieving a perfect poached egg.
Not Seasoning the Water
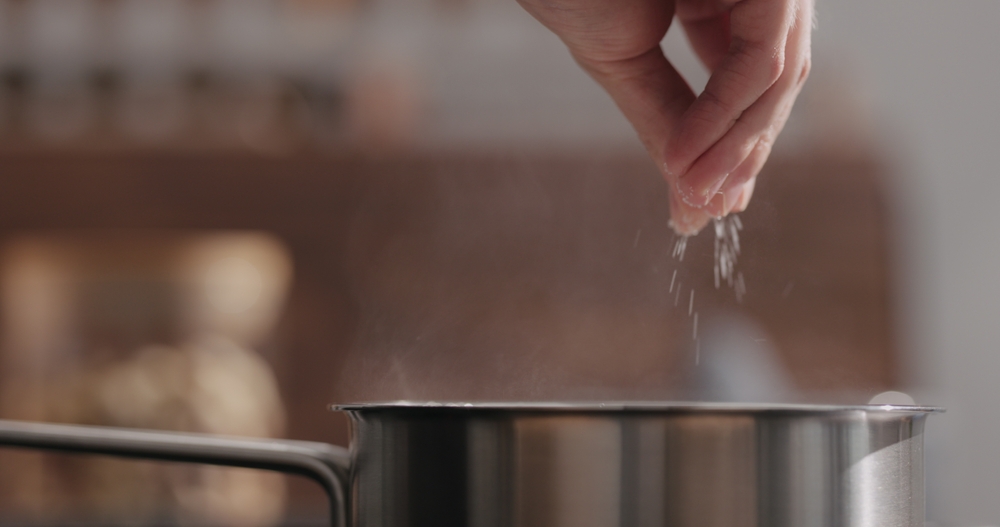
Seasoning the poaching water is often overlooked but can enhance the flavor of the eggs. Adding salt to the water not only seasons the eggs but also helps maintain the water at a higher boiling point, creating a better cooking environment. A pinch of salt per quart of water is a good starting point. You can also experiment with other seasonings like herbs or peppercorns to infuse additional flavors. Just be careful not to overdo it, as the seasoning should enhance, not overpower, the eggs. Properly seasoned water can elevate a simple poached egg to a gourmet level.
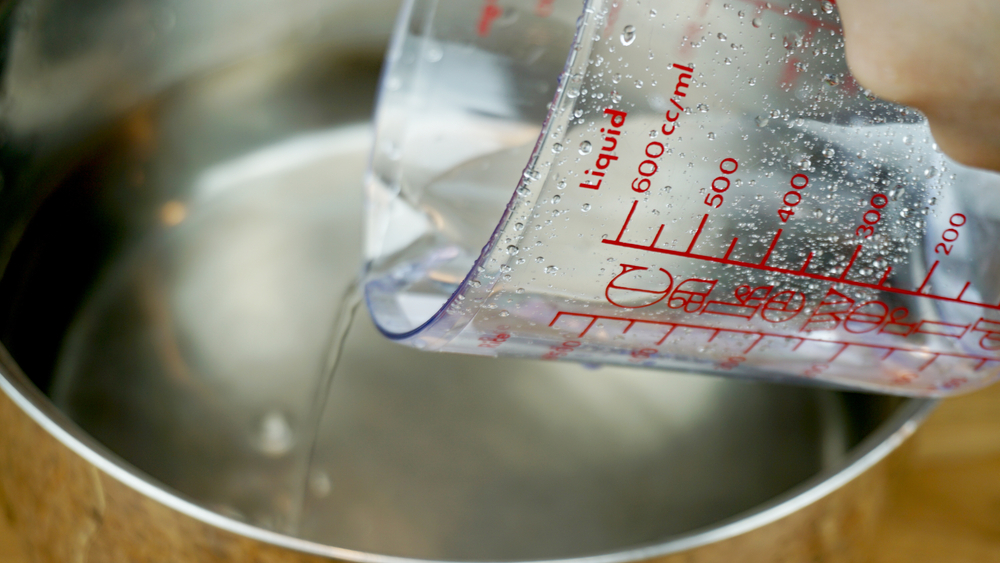
Using a Shallow Pan
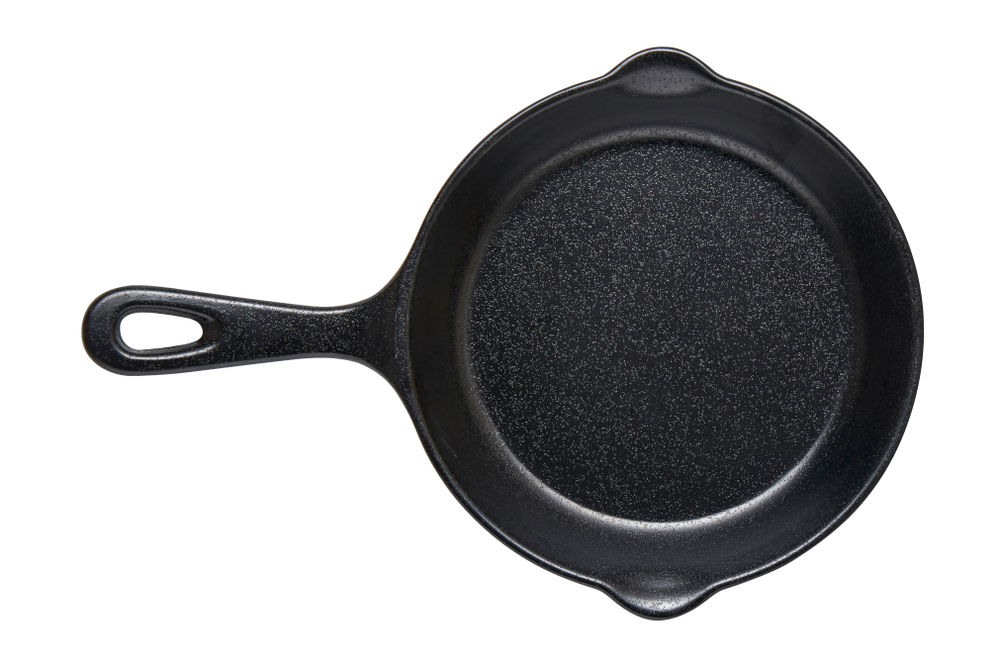
Poaching eggs in a shallow pan can cause them to stick to the bottom and cook unevenly. A deeper pot, with at least 4 inches of water, allows the egg to float freely and cook from all sides. This depth helps the whites envelop the yolk uniformly, producing a more aesthetically pleasing result. Additionally, a deeper pot reduces the risk of the egg adhering to the bottom, making removal easier. A wider pot also helps by providing enough space for the water to circulate around the eggs. Investing in a suitable poaching pot can significantly improve your results.
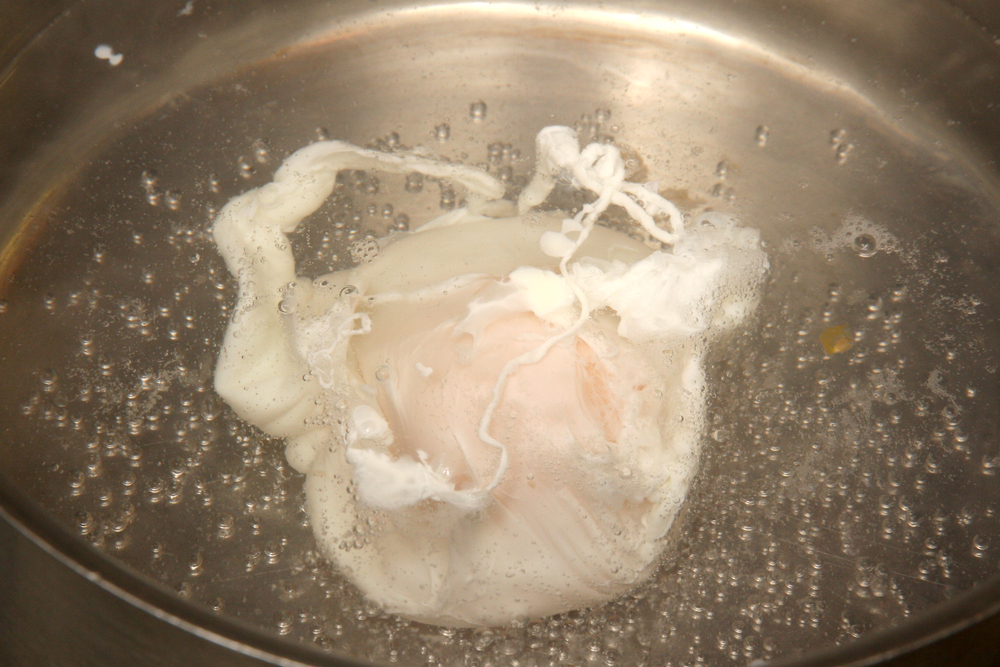
Cracking Eggs Directly into the Water
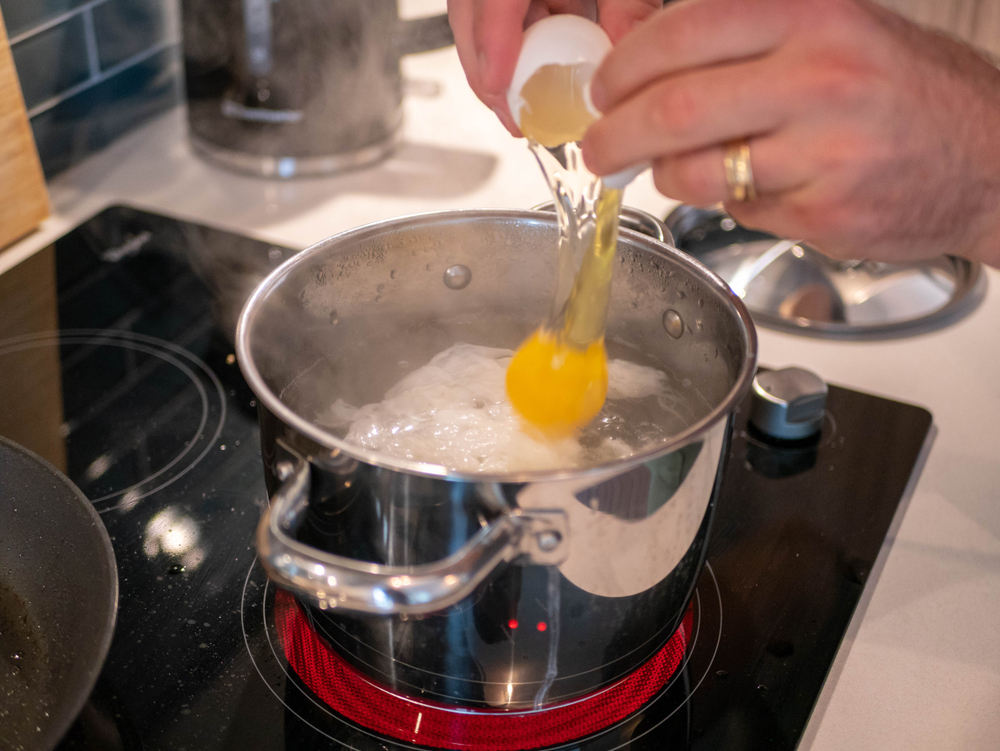
Cracking eggs directly into the water can lead to uneven whites and broken yolks. Instead, crack the egg into a small bowl or ramekin first. This allows you to gently slide the egg into the water, ensuring it stays intact. It also gives you a chance to remove any shell fragments and check the egg’s quality. This method provides more control and results in a neater poached egg. Pouring the egg from the bowl close to the water surface minimizes the distance and reduces disruption in the water. This simple step can greatly enhance the appearance of your poached eggs.
Not Swirling the Water
Creating a gentle whirlpool in the water before adding the egg can help the whites wrap around the yolk, forming a tighter, more uniform shape. To do this, use a spoon or whisk to stir the water in a circular motion, then carefully drop the egg into the center of the vortex. The swirling motion encourages the egg white to encase the yolk evenly. This technique is particularly useful when poaching multiple eggs at once, as it keeps them from merging together. Mastering the swirl can significantly improve the consistency of your poached eggs.
Poaching Too Many Eggs at Once
Overcrowding the pot can lower the water temperature and cause the eggs to stick together. Poach no more than two eggs at a time to maintain proper water temperature and space. This allows each egg to cook evenly without interference from others. If you need to poach more eggs, use multiple pots or poach in batches. Keeping the water at a steady simmer and ensuring enough room for each egg will result in better quality. Properly spacing your eggs ensures they come out perfectly poached every time.
Not Timing the Eggs
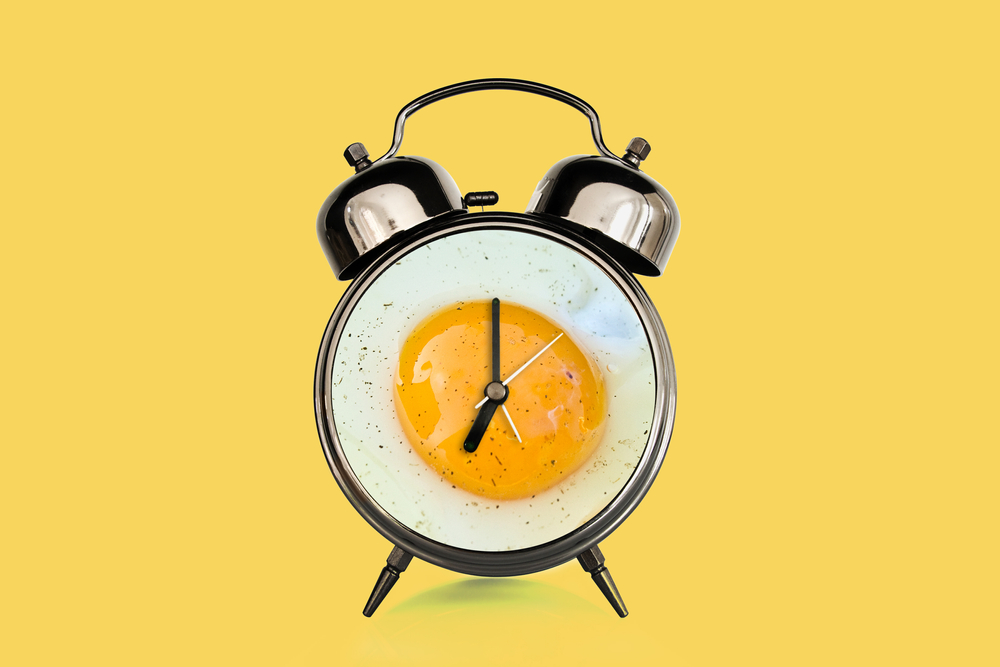
Timing is crucial to achieve the desired consistency of the yolk. Typically, 3-4 minutes will yield a runny yolk, while 5-6 minutes will result in a firmer center. Use a timer to avoid overcooking, which can lead to a hard, chalky yolk. Experiment with different times to find your preferred level of doneness. Keep in mind that factors like egg size and water temperature can affect cooking time. Consistent timing ensures your poached eggs turn out just the way you like them every time.
Using Eggs Straight from the Refrigerator
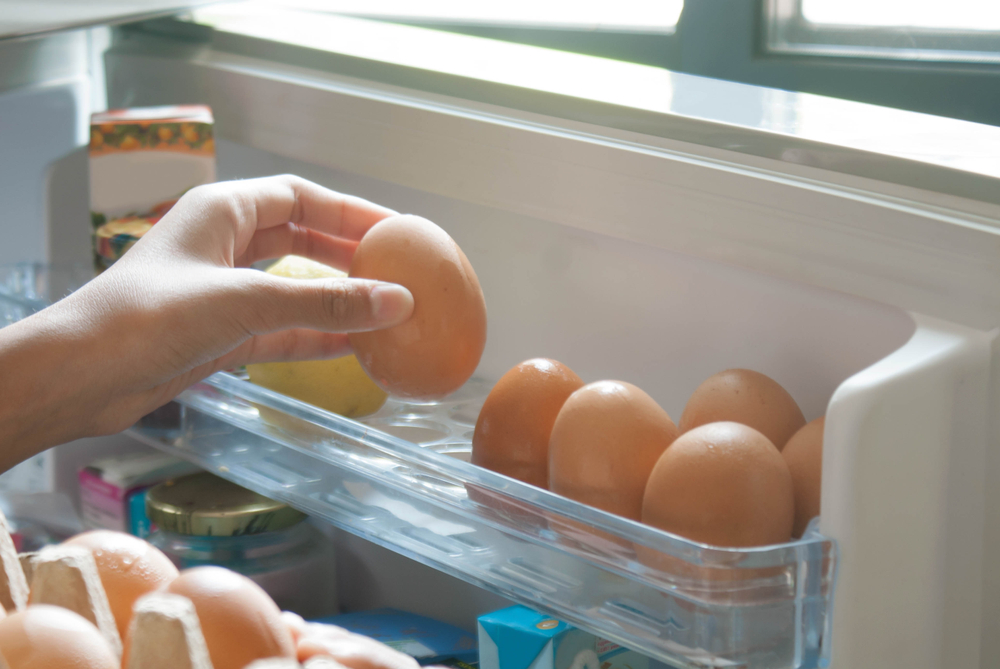
Using cold eggs straight from the refrigerator can result in uneven cooking. When poaching, it’s best to use room temperature eggs, which will cook more uniformly. To bring eggs to room temperature quickly, place them in a bowl of warm water for a few minutes before poaching. Cold eggs can also lower the water temperature, disrupting the poaching process and extending cooking time. Ensuring the eggs are at room temperature helps maintain a consistent water temperature and leads to better results. Taking this simple step can significantly improve the texture and appearance of your poached eggs.
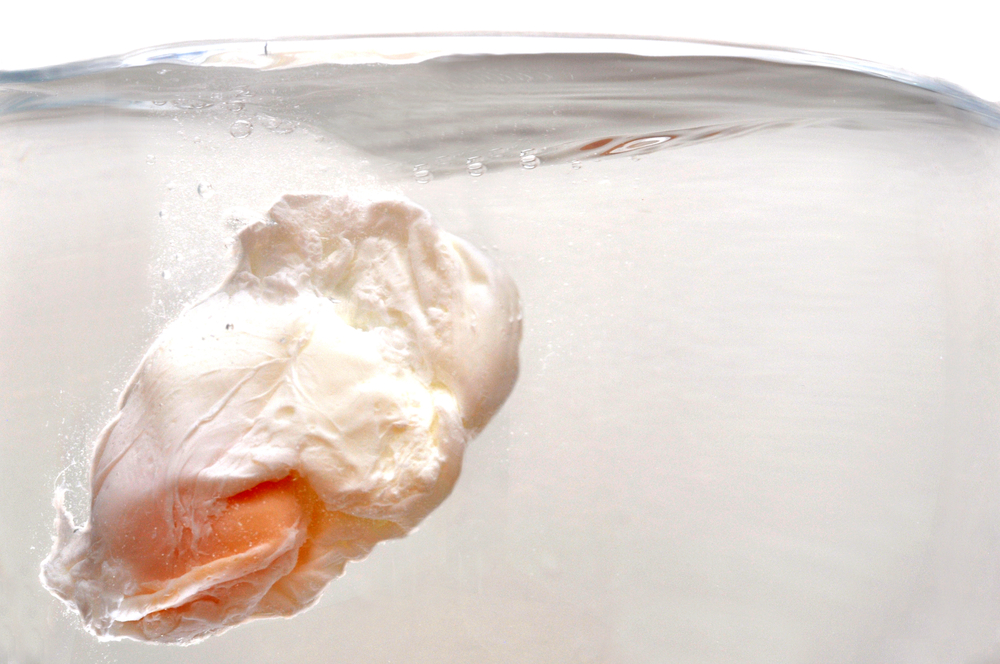
Skipping the Ice Bath

After poaching, immersing the eggs in an ice bath stops the cooking process immediately. This step is essential to prevent overcooking and maintain the desired yolk consistency. An ice bath also helps set the whites and makes handling the eggs easier. To do this, prepare a bowl of ice water and transfer the poached eggs into it for about 30 seconds. This method locks in the perfect texture and ensures your eggs are ready for serving. Don’t skip this crucial step if you aim for perfectly poached eggs.
Using Uneven Heat
Uneven heat can cause the eggs to cook inconsistently, with some parts overcooked while others remain raw. Ensure your heat source provides a steady, gentle simmer throughout the cooking process. Avoid high heat, which can lead to rapid boiling and disrupt the poaching process. If your stove’s heat fluctuates, consider using a heat diffuser to maintain a consistent temperature. Monitoring the heat and making adjustments as needed will help you achieve uniformly cooked poached eggs. Consistency in temperature is key to mastering the poaching technique.
Not Drying the Eggs
After removing the eggs from the water, letting them sit on a paper towel for a few seconds helps remove excess moisture. This step prevents your dish from becoming watery and ensures a better presentation. Gently patting the eggs dry also helps them hold their shape when served. Skipping this step can result in a soggy plate and dilute the flavors of accompanying ingredients. Taking the time to dry your poached eggs enhances both their appearance and texture. Properly prepared eggs will look more appealing and integrate better with other components of your meal.
Ignoring Water Quality
The quality of the water used for poaching can affect the final taste of the eggs. Using filtered water can eliminate any unwanted flavors from tap water. Clean, fresh water ensures the natural taste of the eggs shines through. If your tap water has a strong taste or odor, consider using bottled or filtered water for poaching. This simple adjustment can make a noticeable difference in the overall flavor. Paying attention to water quality is a small but important detail in achieving the best poached eggs.
Neglecting Practice
Poaching eggs is a skill that improves with practice. Don’t be discouraged by initial failures; learn from each attempt and refine your technique. Try different methods and tips until you find what works best for you. Consistent practice will lead to better results and more confidence in your poaching abilities. Keep experimenting with water temperature, timing, and techniques to perfect your poached eggs. Mastery comes with experience, so keep at it until you achieve the desired outcome every time.
This article originally appeared on RetailShout
More From RetailShout
15 Ways to Make a Ham Sandwich More Exciting
Sometimes, a plain ham sandwich can get a bit boring, but with a few tweaks and additions, you can turn it into something truly special. Whether you’re adding new ingredients or trying out different cooking methods, there are plenty of ways to make your ham sandwich more exciting and delicious. Read More.
16 Hassle-Free Weeknight Meals to Make in Under an Hour

Weeknights can be hectic, but dinner doesn’t have to be a stress point. Imagine coming home and whipping up a delicious meal in under an hour, from prep to finish. These recipes are not only easy to prepare but also bursting with taste, ensuring you enjoy every bite without spending hours in the kitchen. Read More.
15 DIY Ice Cream Recipes to Beat the Heat

When the summer sun blazes and temperatures soar, there’s nothing quite like indulging in a cold, creamy treat to beat the heat. Making your own ice cream at home is not only fun but also allows you to get creative with flavors and ingredients. Read More.